
The quick answer
Repair isolated cosmetic damage when the board around it is dry, firm, and stable. Consider replacing the affected section when the drywall has lost its strength or shape. Investigate moisture, recurring cracks, and failed joints before choosing either option. You rarely need to replace a whole wall just because it has a few small holes.
Start with the condition, not the hole size
A door handle hole can look dramatic but still be a straightforward local repair. A smaller stained area may need more investigation because the damage is coming from behind the wall. Look at the surrounding surface and ask what caused the problem, whether it is still active, and how much sound material remains.
| What you see | Likely next step | What to confirm |
|---|---|---|
| Small nail holes or shallow dents | Local repair | The surrounding board is dry, firm, and securely attached. |
| One impact hole in an otherwise sound wall | A supported panel patch | Replace the damaged section and finish the perimeter joints. |
| Loose joint tape or a recurring crack | Assess the cause first | Joint failure or movement may need attention before surface repair. |
| Soft, swollen, crumbling, or sagging board | Replacement assessment | Check the extent of damage and fix its cause before closing the area. |
| Staining, persistent dampness, or suspected mould | Moisture assessment first | A cosmetic patch does not establish that the wall is dry or sound. |
| Many failed repairs across one wall | Compare repair and replacement scopes | Consider total preparation, joint finishing, and repainting work. |
These are planning examples, not a diagnosis from a photograph. The actual scope depends on the wall and the cause of the damage.
When a local drywall repair makes sense
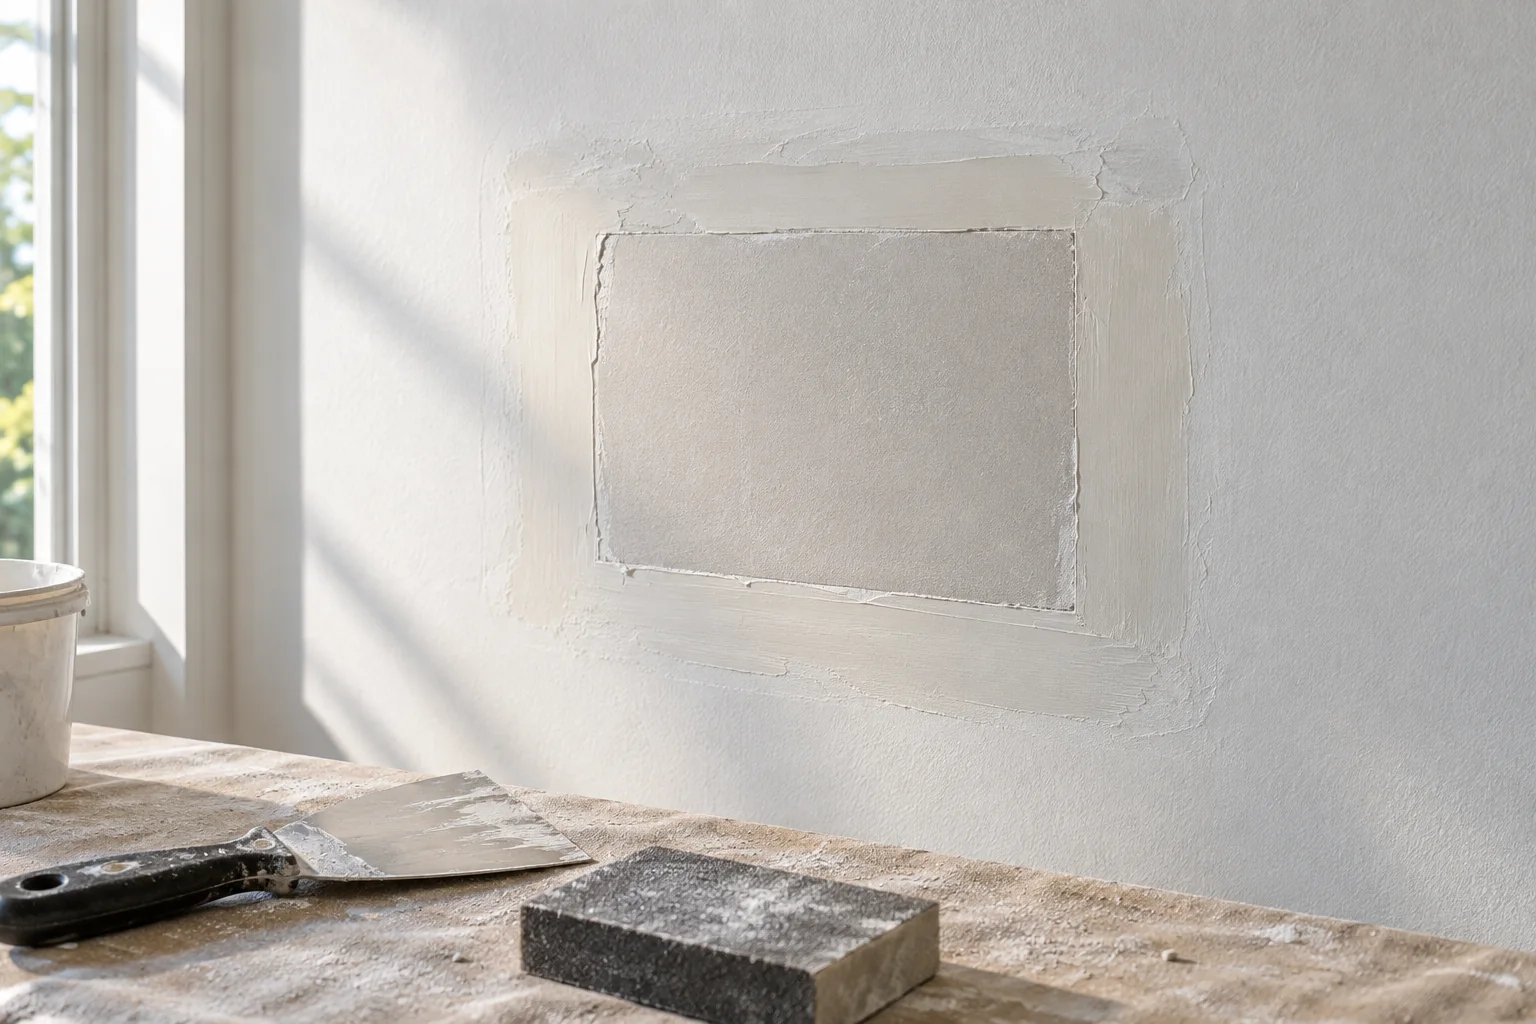
Small nail holes, shallow dents, and an isolated impact hole are common candidates for repair when the rest of the wall is sound. A repair can involve filling a surface defect or fitting a new piece of board into the damaged area. The latter is a local replacement, even though the quote may simply call it a drywall patch.
The finish matters as much as the patch. Compound should blend into the surrounding surface rather than leave a raised island. Torn face paper also needs suitable preparation; simply painting over loose fibres can leave an uneven result. A manufacturer’s repair guidance helps identify the appropriate materials for each condition.
Ask whether the quote includes joint treatment, sanding, cleanup, primer, and repainting. A patched hole and a finished painted wall are different deliverables.
When replacing a section is the better discussion
Board that is soft, swollen, crumbling, badly distorted, or no longer securely supported may need replacement rather than another layer of filler. The extent should be assessed on site. Replacing the affected section can preserve the rest of a sound wall, while widespread damage may justify a larger scope.
A wall with many old patches also deserves a comparison. Ask for the cost of preparing and repairing it alongside the cost of replacing the relevant area. Include removal, disposal, new board, joint finishing, trim work, primer, and paint in both options. There is no universal number of holes at which replacement automatically becomes cheaper.
Match the existing assembly, including board thickness and any applicable fire or sound requirements. A wall between units or beside a garage should not be treated as an ordinary decorative surface without checking the assembly requirements. Do not open a wall without considering concealed wiring and plumbing.
Resolve moisture and recurring cracks first
A brown mark does not prove that the board needs replacement, and a dry looking face does not prove that the cavity is dry. Locate and resolve the water source before finishing. EPA guidance notes that drywall affected by clean water may sometimes dry in place if there is no obvious swelling and the seams remain intact. That is a conditional assessment, not permission to keep every wet panel.
If there is suspected mould, contamination, persistent dampness, or damage behind the surface, have the condition assessed before cosmetic work. Paint and stain blocking primer do not fix a leak or establish that damaged material is suitable to keep.
For a crack that returns after patching, document where it occurs and whether it is changing. Ask for an assessment of the joint and surrounding conditions. A widening crack, visible displacement, or a sagging ceiling deserves attention before a painter covers it. A crack alone does not establish a structural problem, but repeatedly filling it without understanding the cause can waste the repair budget.
In an older home, check potentially hazardous materials before sanding or demolition. Health Canada advises avoiding disturbance of materials that may contain asbestos and arranging professional testing before renovation where it is a concern.
Prepare the wall before choosing the paint
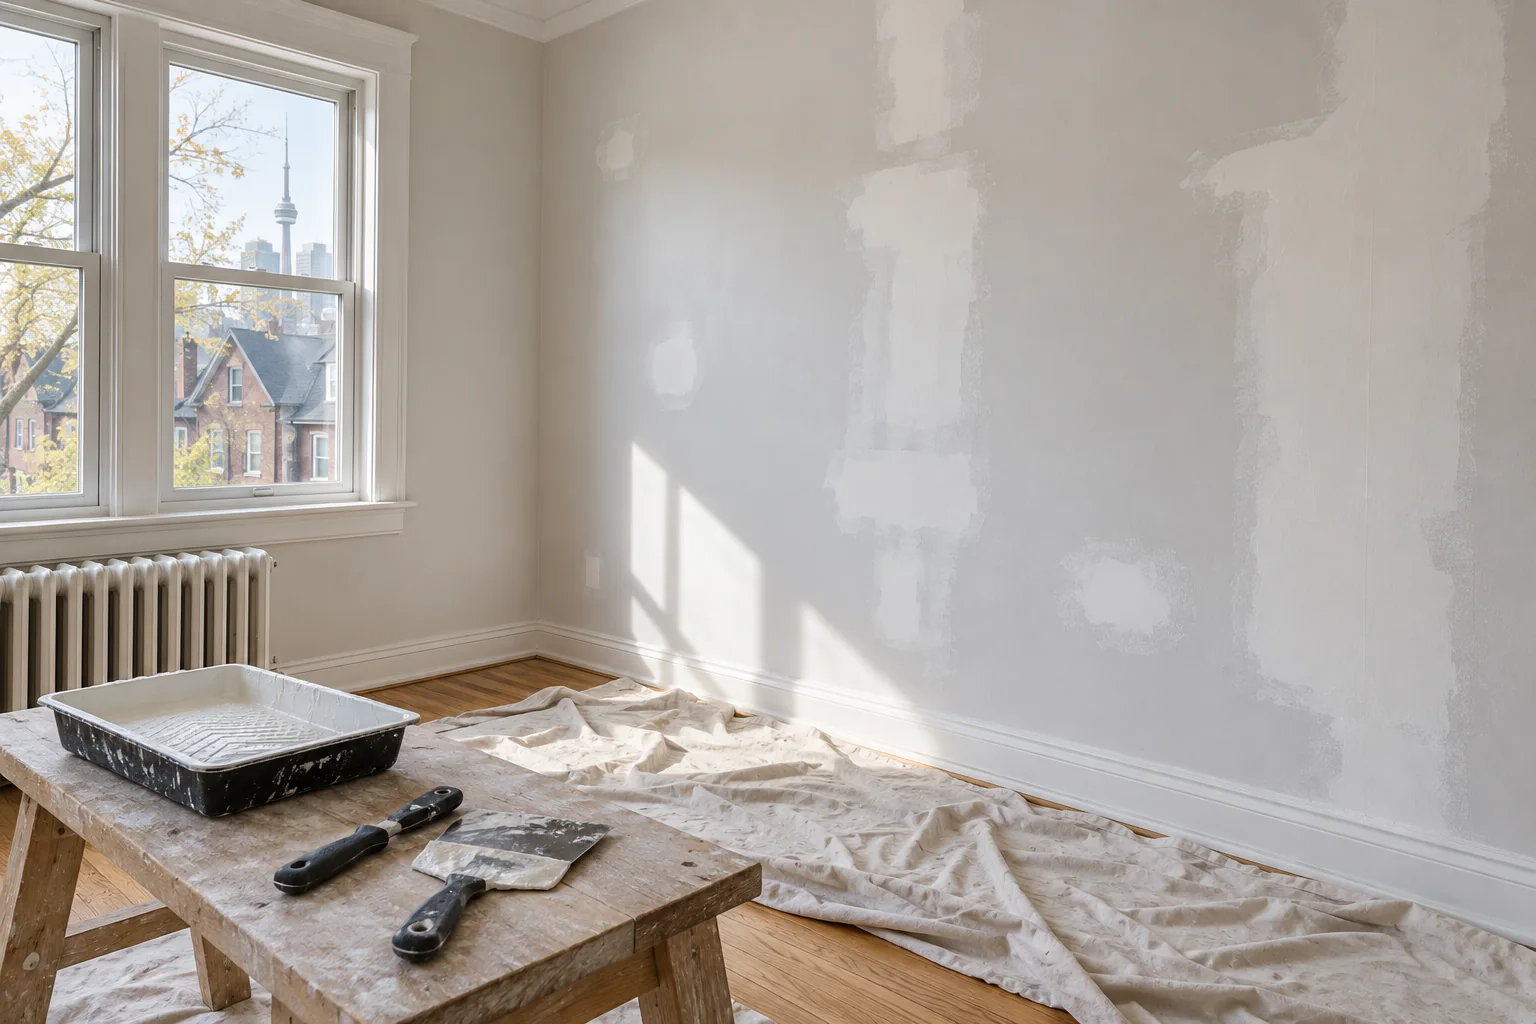
A repair that looks flat straight on can still cast a shadow in window light. Check the surface from an angle, especially along long walls and ceilings. Ask the contractor to blend the texture and address visible ridges before priming.
- Confirm that the cause of the damage is resolved and the surface is sound.
- Complete the specified repair and allow materials to dry as directed.
- Check the finish, smooth it as required, and remove dust.
- Use the primer or sealer appropriate for the repaired surface and paint system.
- Inspect the primed area and correct remaining imperfections before topcoats.
- Agree on the area to repaint, ideally to natural wall boundaries for a consistent result.
Drying time depends on the product, depth, temperature, humidity, and ventilation. Setting and drying are not the same thing, so avoid a fixed promise that every patch can be painted that afternoon. Follow the instructions for the compound, primer, and paint used.
A small touchup may still stand out because of colour, sheen, texture, or the age of the surrounding paint. Discuss this before work begins. Our interior painting services can be included with drywall repair and installation so the quote covers the finished result.
What to send for a clearer quote
For a Toronto or GTA project, send one photo of the whole wall and close photos of each damaged area. Add approximate measurements, the room, the cause if known, and whether the problem has returned before. Mention any water damage and when it happened.
- Which areas will be repaired or replaced, and what assessment is included?
- Does the scope include removal, disposal, protection, and cleanup?
- Are joint finishing, surface preparation, and primer included?
- Will painting cover only the patch, the full wall, or the room?
- How will new findings behind the wall be discussed and priced?
- What drying allowances and access needs affect the schedule?
If the work is part of a basement project, read our Toronto basement renovation budget guide to put wall finishing into the wider scope. For final trim and details, see our interior finishing services.
Common drywall questions
Do small nail holes mean I need new drywall?
Usually not. Small holes in dry, firm drywall are often suitable for a local repair. The repair still needs a smooth finish and appropriate primer before painting.
Should water stained drywall always be replaced?
A stain alone does not tell you the condition of the board. Find and fix the moisture source, then assess the board and the cavity. Swelling, softness, failed seams, contamination, or suspected mould can change the scope. Do not cover an unresolved problem with paint.
Can a damaged section be replaced without replacing the whole wall?
Often yes, if the surrounding board is sound. A properly supported panel patch can replace a local damaged area. Match the existing wall assembly and finish the joints before priming and painting.
Why does a drywall repair show through new paint?
Uneven texture, visible edges, dust, or different absorption between compound and painted wall can make a patch noticeable. Surface preparation, suitable primer, and repainting the wall to natural boundaries help create a consistent finish.
How long should I wait before painting a repair?
Follow the drying and application instructions for the compound, primer, and paint being used. Temperature, humidity, repair depth, and ventilation affect the schedule. A compound that has set is not necessarily dry enough to paint.
Sources and practical limits
Published October 7, 2026. This guide helps homeowners discuss a repair scope. It does not replace an on site assessment or the instructions for the materials used. The images are illustrative.
- USG Sheetrock installation and finishing guide: damaged panels and finishing guidance.
- EPA guidance on water damaged materials: conditions for drying drywall in place.
- Health Canada: Asbestos and your health: assessing materials before renovation.